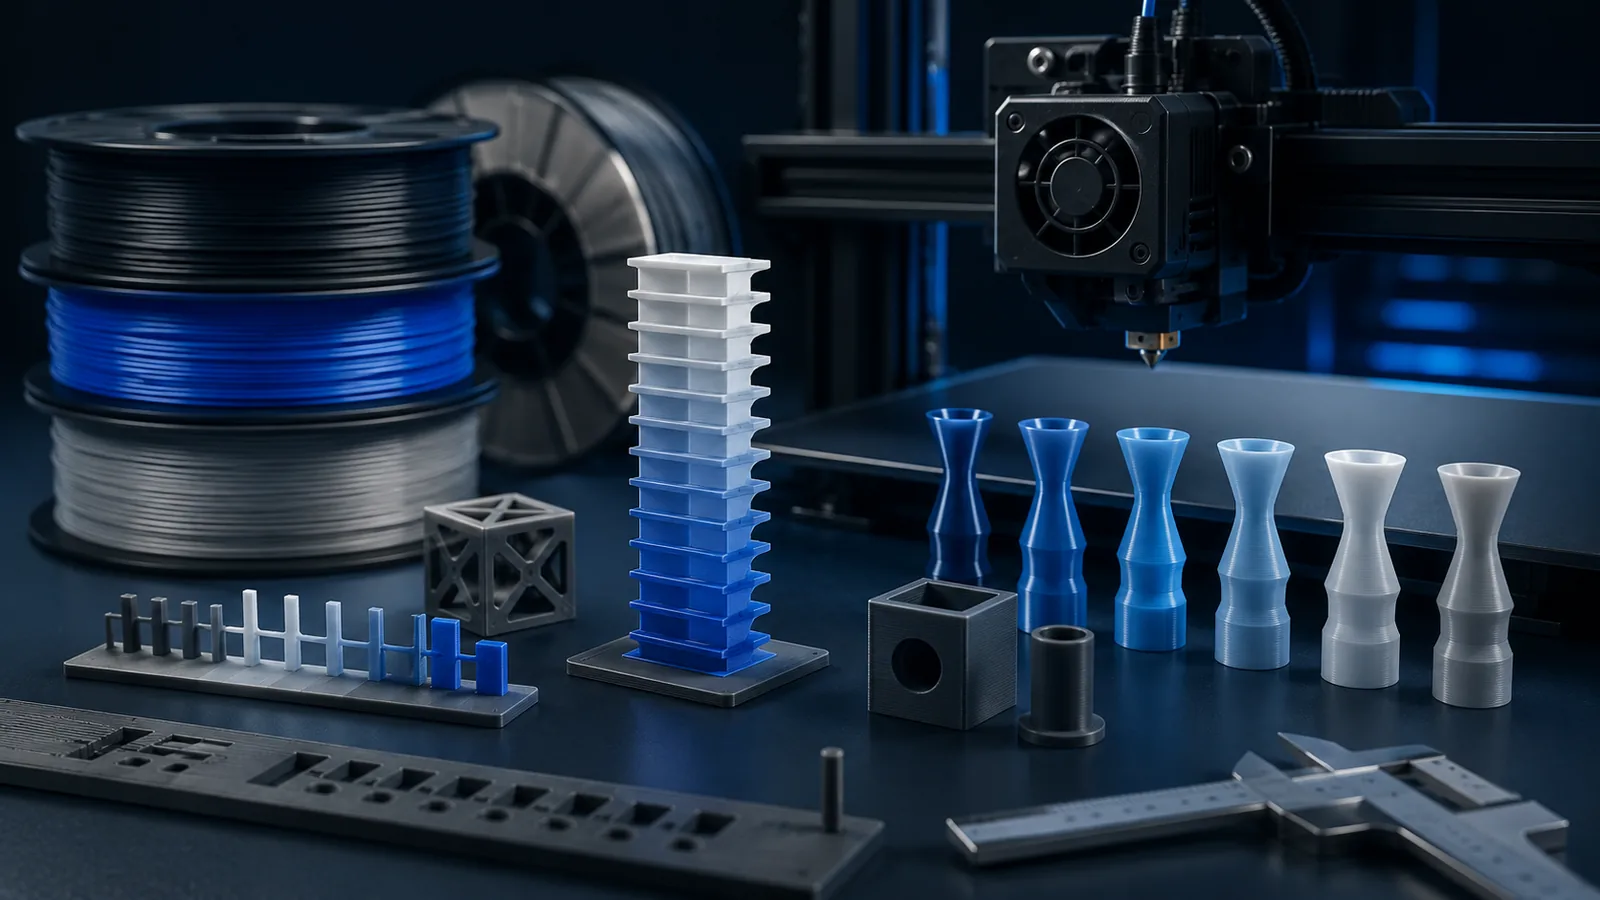
A good filament profile is more than a nozzle temperature and a flow number. When temperature, maximum volumetric speed, pressure advance, flow ratio and retraction do not agree with each other, symptoms are easy to misdiagnose: underextrusion gets treated as a flow-ratio problem, stringing as retraction only, or soft corners as a general speed issue.
This guide focuses not only on where to click, but why the order matters, what to inspect on each test and when calibration is the wrong response to a problem. For a guided workflow, keep our Filament Calibration Assistant open alongside the guide.
Before calibration: make sure the printer is healthy
Calibration refines a stable filament/process profile. It is not a substitute for mechanical or thermal troubleshooting. If a printer worked cleanly yesterday and suddenly underextrudes today, changing flow ratio should not be the first reaction.
- Filament condition: wet PETG, TPU, PA or PC can create stringing, bubbles and inconsistent extrusion.
- Nozzle and filament path: a partial clog, worn nozzle or slipping drive gears corrupt every calibration result.
- Hotend cooling: heat creep can cause intermittent feed problems, especially with PLA.
- Mechanics: layer shifts, belt problems or play are not fixed by a filament profile.
- Nozzle size: switching from 0.4 to 0.2 or 0.6 mm changes practical flow and speed limits.
Layer bonding and delamination: inspect more than appearance
Separating FDM layers or cracks between them mean an attractive profile is not sufficient. Distinguish separation between existing layers from missing or heavily underextruded paths. A crack alone proves neither moisture nor insufficient temperature.
| Observation | Check first | Next comparison |
|---|---|---|
| Thin paths, gaps or intermittent feeding | Filament path, extruder, hotend and actual throughput demand. | Reduce demand and establish reliable feeding rather than blindly raising flow. |
| Layers present but weakly connected | Temperature at real throughput, cooling, material condition and orientation. | Change one thermal or throughput variable with the rest fixed. |
| ABS/ASA cracks, especially in exposed areas | Drafts, stable environment and material guidance. | Stabilize conditions rather than using PA as a repair. |
| Same height/location across repeated prints | Preview geometry, fan/speed transitions and interruptions. | Test the transition rather than rebuilding every material profile. |
Prusa identifies thermal conditions and extrusion as checks for FDM layer separation. Follow the exact filament guidance: insufficient temperature calls for reassessment, not further reduction. Compare higher temperature within the permitted range or lower volumetric flow one at a time. Assess cooling deliberately; do not confuse the part-cooling fan with hotend cooling.
Use the same small geometry and orientation. Keep material condition, layer height, line width and other settings constant. Record crack position, extrusion appearance and the single change. A simple hand comparison may reveal deterioration but cannot establish an allowable load or standardized strength value.
Stop fine-tuning when: feeding keeps failing, temperature behavior is abnormal or visible splitting repeats. A closed coupon or attractive temperature tower does not verify another part’s performance. Orientation, design and appropriate validation remain necessary for its intended function. Section checked October 13, 2026.
The calibration order at a glance
| Step | What it establishes | Why here? | Common misinterpretation |
|---|---|---|---|
| 1. Temperature | working range for melt behavior, bonding and surface quality | temperature changes viscosity and therefore affects nearly every later extrusion test | fighting stringing with retraction only while temperature is too high |
| 2. Max Volumetric Speed | real melt/throughput ceiling in mm³/s | prevents later tests from unknowingly running at the hotend limit | raising flow while the hotend simply cannot melt more material |
| 3. Pressure Advance | pressure compensation during acceleration/deceleration | stabilizes corners and line ends before judging flow surfaces | confusing PA with retraction or flow |
| 4. Flow Ratio | material amount relative to calculated extrusion | after thermal, throughput and pressure behavior are stable, surface patterns are easier to judge | using flow as the universal fix for dimensions |
| 5. Retraction | shortest retraction distance that sufficiently reduces travel stringing | makes sense after temperature and extrusion are already stable | using excessive retraction and creating gaps/clogs |
| 6. Tolerance | fits, shrinkage and XY hole/contour compensation | geometry compensation belongs after a stable extrusion profile | mixing proportional shrinkage with hole compensation |
Step 1: calibrate temperature
Nozzle temperature changes melt viscosity and therefore layer bonding, surface finish, bridges, stringing and attainable throughput. OrcaSlicer can generate a temperature tower automatically with several temperature sections.
What to inspect on a temperature tower
- clean overhangs and bridges,
- stringing between separated features,
- surface quality and detail,
- layer bonding when the part is functional,
- unusual gloss/matte changes or signs of material degradation.
The visually prettiest section is not automatically the best temperature for every job. A temperature that looks excellent on a small slow test may be too low for a high-flow print. A slow detail print, on the other hand, may not need the top end of the manufacturer’s range.
Step 2: Max Volumetric Speed – find the real flow ceiling
Max Volumetric Speed (MVS) is the maximum volume of plastic that the filament, hotend, nozzle and extruder can reliably feed and melt per second under the test conditions. OrcaSlicer can use this limit to cap linear print speed automatically.
MVS belongs to the specific filament + temperature + nozzle + hotend. Even two colors of the same PLA line can differ; a 0.2 mm nozzle and a high-flow 0.6 mm nozzle clearly do not share the same practical ceiling.
Signs that the test has reached the limit
- lines become visibly thinner or change appearance,
- extrusion loses consistency,
- the surface starts opening up,
- layer bonding drops,
- the extruder may click or grind filament.
Do not save an everyday profile exactly at a one-off failure threshold. A margin is useful for temperature, batch and geometry variation. The Calibration Assistant can calculate a conservative working target from a measured MVS value.
For the underlying math, use the Volumetric Flow Calculator: line width × layer height × speed ≈ required volumetric flow.
Step 3: Pressure Advance – corners and extrusion dynamics
Pressure inside the hotend does not change instantly when the toolhead accelerates or slows down. Pressure Advance in Klipper (or Linear Advance in a compatible Marlin configuration) compensates for this behavior. OrcaSlicer offers several PA calibration methods and distinguishes Direct Drive and Bowden variants.
PA too low
- corners can look overfilled,
- line ends may carry extra material,
- transitions look soft or imprecise.
PA too high
- corners can look starved,
- lines start/end too thin,
- gaps can appear at rapid direction changes.
Pressure Advance is not a replacement for retraction. PA compensates pressure during motion; retraction reduces ooze during travel. Both can influence blobs or stringing, but through different mechanisms.
See the Pressure Advance glossary entry for the underlying concept.
Step 4: Flow Ratio – set extrusion amount cleanly
Flow Ratio controls how much filament is actually extruded relative to the calculated amount. In 2026 OrcaSlicer documents the newer Archimedean Chords / YOLO method as well as the older two-pass method.
What a good flow test looks like
On the test surfaces, look for the smoothest closed top pattern without obvious gaps between lines and without raised ridges of excess material.
- too little flow: visible gaps, weak lines, underextrusion-like appearance,
- too much flow: rough/raised top surface, material pushed sideways, dimensional error may increase.
Step 5: Retraction – use as little as necessary
OrcaSlicer’s Retraction Tower varies retraction length through the height of the model. The goal is not the largest value that produces zero wisps; it is the shortest retraction distance that gives an acceptably clean result.
Direct-drive extruders normally need far less distance than traditional long Bowden paths. Orca’s documented default test ranges therefore use a tighter range for Direct Drive and a wider one for Bowden systems.
If more retraction does not help
- check filament moisture,
- check for excessive temperature,
- review travel behavior and wiping,
- separate pressure-advance/extrusion-dynamics issues,
- check hotend/heat-creep behavior,
- remember that flexible materials behave differently from PLA.
Excessive or overly frequent retractions can create their own defects: gaps after travel moves, filament grinding, or a higher clog risk in some hotend geometries.
Step 6: tolerance and dimensional accuracy come afterwards
Once extrusion is stable, address fits and dimensions. OrcaSlicer separates Filament Compensation from Process Compensation:
- XY/Z Shrinkage: proportional dimensional change of the material,
- XY Hole Compensation: correction of internal contours/holes,
- XY Contour Compensation: correction of outer contours,
- Precise Wall / Precise Z Height: additional process options for dimensional behavior.
If X and Y are wrong by substantially different amounts, do not blindly average them into one shrinkage value. Squareness/skew, mechanics or measurement error may be involved. Use the Skew & Squareness Calculator to investigate that path.
Do I need to recalibrate every new spool?
No. For many users, the efficient approach is to maintain a clean profile for a material/product line and recalibrate when a meaningful variable changes:
- different manufacturer or significantly different formulation,
- a new color that behaves noticeably differently,
- different nozzle size or nozzle geometry,
- new hotend/high-flow hotend,
- Direct Drive ↔ Bowden or extruder changes,
- clear changes in quality or throughput.
A replacement spool of the same product does not automatically require the entire test suite if prints remain consistent.
0.2 mm nozzles and miniatures: different limits, same logic
Calibration becomes especially valuable with a 0.2 mm nozzle because fine features and narrow lines are more sensitive to flow, temperature and cooling. A smaller nozzle does not mean layer height should be pushed arbitrarily low.
- MVS can be substantially lower than with 0.4 mm.
- Minimum Layer Time and cooling can become the real limit on tiny figures.
- Excessive speed can make thin features disappear.
- Very slow local motion can expose a tiny surface to more heat.
We will cover this separately in the planned FDM-miniatures deep dive; the calibration sequence itself remains the same.
High-speed filaments: measure first, trust labels second
“High Speed” on a spool does not guarantee a specific mm³/s value in your printer. Real throughput still depends on hotend, nozzle, temperature and extruder. That is why MVS calibration is valuable for fast profiles.
If a fast print becomes visibly matte, lines thin out or bonding drops, the volumetric-flow ceiling may be the issue even if the slicer allows 300 or 500 mm/s.
Common calibration mistakes
Changing everything at once
If temperature, flow, retraction and PA all change together, you cannot tell which change helped. Change one main variable at a time.
Calibrating wet or unstable filament
You can end up saving compensation for a temporary bad state.
Using flow to fix every dimensional error
Flow affects geometry, but it is not the same thing as material shrinkage or hole compensation.
Saving MVS right at the visible failure threshold
An everyday profile needs some reserve for temperature, batch and geometry variation.
Increasing retraction indefinitely
Stringing can come from moisture, temperature, material or hotend behavior. More retraction is not automatically better.
Using calibration to hide hardware faults
A partial clog, slipping extruder or failing fan needs troubleshooting, not a new filament profile.
Practical workflow: decide whether to continue calibration
Record a baseline: printer, nozzle, filament product and color, material condition, slicer version and starting profile. Save a copy rather than overwrite a working profile. The coupon, preview and printing conditions belong together; a number without context is difficult to compare later.
The official Orca guide orders temperature → MVS → Pressure Advance → flow → retraction. This article focuses on filament profiling. Mechanics and firmware-specific motion parameters are separate checks; sequence alone cannot fix inconsistent extrusion.
| Step | Continue when … | Repeat or stop when … |
|---|---|---|
| Temperature | a suitable range for the intended application is identified | extrusion varies, material bubbles unusually or feeding stops. |
| MVS | a repeatable throughput boundary and working margin are identified | one uncontrolled test is being treated as a universal limit. |
| Pressure Advance | the method suits the printer and transitions are plausible | poor adhesion or throughput limiting distorts the pattern. |
| Flow Ratio | surfaces are consistent under stable extrusion | flow is being used to fix only a small hole or warped contour. |
| Retraction | travel threads are acceptable and restarts remain clean | additional retraction introduces gaps or feed problems. |
| Real part / fit | representative geometry verifies required properties | only the prettiest coupon was inspected or target geometry differs substantially. |
An attractive temperature tower is not a strength measurement. An MVS test does not approve arbitrary geometry at the same nominal speed. Match acceptance to the purpose: visible finish, fit or an appropriate functional check.
Calibration record: a few useful comparison fields
| Record | Why it helps |
|---|---|
| Material and condition | Product, color/batch and known preparation rather than simply “PLA.” |
| Hardware and project | Nozzle/hotend, slicer version, test file and saved profile. |
| Changed setting | One value or clearly isolated step per trial. |
| Observation | Record the specific location and symptom; a photograph may supplement it. |
| Decision | Accepted, rejected or retest, with a reason. |
Illustrative example: A temperature change introduces gaps at the former MVS limit. Do not simultaneously increase flow and reduce speed. First establish whether the boundary remains valid at the new temperature, then select the profile limit. This explains a decision process, not our own measured results.
Create a new project after the Orca calibration run to leave calibration mode. Inspect effective settings and overrides on the real part. Use the calibration assistant for sequence and the bridging guide for a specific bridge problem. This section and sequence were checked October 13, 2026.
Conclusion
Good filament calibration is not about touching as many settings as possible. It is about a repeatable sequence and separating different causes. Temperature establishes the thermal baseline, MVS sets the real throughput ceiling, Pressure Advance stabilizes extrusion dynamics, Flow Ratio corrects material amount, and Retraction is tuned afterwards for travel ooze.
When dimensional accuracy and fits are then treated as a separate calibration layer, the resulting profile is easier to understand and more likely to work on real parts rather than only on a calibration coupon.
Sources & current documentation
- OrcaSlicer Wiki – Calibration Guide and current order
- OrcaSlicer – Temperature Calibration
- OrcaSlicer – Max Volumetric Speed Calibration
- OrcaSlicer – Pressure Advance Calibration
- OrcaSlicer – Flow Ratio Calibration
- OrcaSlicer – Retraction Calibration
- OrcaSlicer – Tolerance Calibration
Research checked: August 27, 2026. OrcaSlicer actively develops its calibration features; menu labels and recommended methods can change between releases.
Frequently asked questions
What order should I use to calibrate filament in OrcaSlicer?
The current OrcaSlicer documentation recommends Temperature, Max Volumetric Speed, Pressure Advance, Flow Ratio and then Retraction. Tolerance/dimensional calibration follows separately.
Do I need to fully calibrate every new filament spool?
Not necessarily. If the product, color and hardware are unchanged and print behavior remains consistent, a sanity check is often enough. Recalibration is more useful after material, nozzle, hotend or extruder changes.
Should I increase Flow Ratio to fix undersized holes?
Not as a general fix. Flow Ratio controls extrusion amount. Systematically undersized holes belong to tolerance calibration and XY Hole Compensation; proportional size change can relate to shrinkage.
Why does current OrcaSlicer calibration put Max Volumetric Speed before Flow Ratio?
The current recommendation establishes the real throughput ceiling early, helping prevent later tests from unknowingly running at the melt/flow limit of the filament, hotend and nozzle.
Is more retraction always better for stringing?
No. The goal is the shortest distance that prints cleanly enough. Excessive retraction can create new extrusion problems, and moisture, temperature or hotend behavior can also cause stringing.