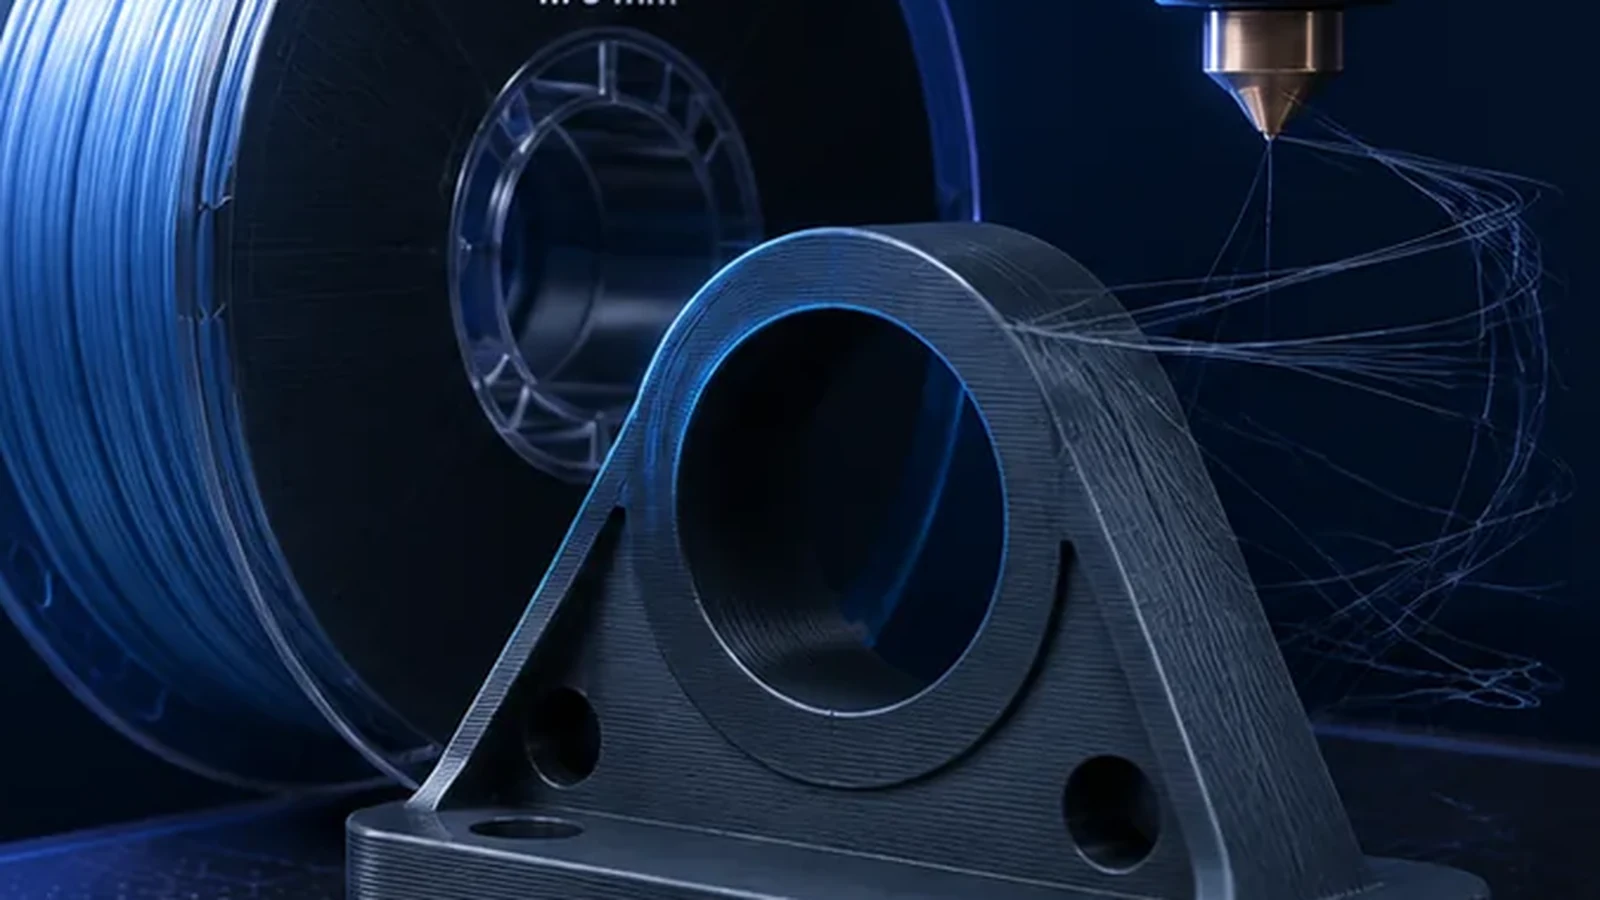
PETG is one of the most useful everyday FDM materials, but it is often tuned like “stronger PLA.” That leads to stringing, weak surfaces, rough top layers or excessive bed adhesion. PETG works best when moisture, temperature, flow, cooling and bed contact are tuned as one system.
Key PETG settings at a glance
| Setting | Practical starting point | What to watch |
|---|---|---|
| Nozzle temperature | Use the filament manufacturer range | Too cold: weak flow; too hot: more ooze/stringing |
| Bed temperature | Plate/material dependent | PETG can bond too strongly to some surfaces |
| Cooling | Moderate, stronger for bridges | Too much can reduce layer bonding |
| Flow Ratio | Use the documented calibration sequence | Overextrusion ruins top surfaces |
| MVS | Measure for the actual spool | High-speed PETG varies widely |
1. Print PETG dry before tuning retraction
Wet PETG can string, pop, foam and produce rough surfaces. If a spool suddenly behaves much worse than before, drying is a higher-value test than changing retraction. Otherwise you risk building a profile around moisture.
2. Nozzle temperature: match it to the required flow
PETG needs enough heat to melt consistently at the target flow. Very low temperature may look clean on a slow test cube but underextrude during long high-speed walls.
Signs the temperature is too low
- matte rough surface at high flow,
- weak layer bonding,
- extruder clicking or slipping,
- flow test fails early.
Signs the temperature is too high
- increased stringing and ooze,
- soft bridges and overhangs,
- gloss inconsistency,
- more residue around the nozzle.
3. Build plate and adhesion: PETG can stick too well
PETG can bond extremely strongly to smooth PEI or glass-like surfaces. On some plate combinations a glue layer is used as a release barrier, not because adhesion is weak. Follow the build-plate manufacturer guidance.
4. First layer: trust automation, verify the result
Modern printers often set Z automatically, but you should still inspect the first layer. Lines should be joined without being crushed into a transparent smear. A contaminated nozzle or plate can make an automatic routine look like a slicer problem.
5. Cooling: PETG needs balance
Too little cooling can make bridges and small details soft; too much can reduce interlayer strength and encourage warping on large parts. Use moderate general cooling and stronger bridge cooling where appropriate.
6. Flow Ratio and Pressure Advance in the documented sequence
Plausible material flow is necessary for interpretable tests. This does not mean OrcaSlicer requires a complete flow calibration before PA. Its documented sequence is temperature → MVS → Pressure Advance → Flow Ratio → retraction.
Use a dedicated PETG profile with stable hardware/material conditions. Feeding faults should be resolved before proceeding. The calibration guide explains the sequence and limits; its layer-bonding section helps with splitting layers. Section checked October 13, 2026.
7. Max Volumetric Speed is the real speed ceiling
PETG profiles should not be judged by a “300 mm/s” label. Measure the flow the spool can sustain in your hotend. Use our MVS guide and Volumetric Flow Calculator.
8. Troubleshoot PETG stringing systematically
Dry the filament, verify temperature, then tune travel and retraction. PETG often needs a little more attention than PLA, but excessive retraction can create feed instability or heat creep.
9. Combine line width and layer height sensibly
Wider lines and thicker layers raise volumetric demand quickly. A 0.6 mm nozzle can save time, but only if the hotend can melt the required volume. Use the Nozzle, Layer & Speed Planner to check the combination.
10. Typical PETG problems and likely causes
| Symptom | Likely causes |
|---|---|
| Heavy stringing | Moisture, excessive temperature, travel/retraction |
| Weak layer bonding | Too cold, too much cooling, flow limitation |
| Rough top surface | Flow Ratio too high, wet filament, insufficient top layers |
| Part damages plate | Excessive bonding, missing release layer |
| Matte/rough walls at speed | MVS exceeded or temperature too low for flow |
Recommended order for a new PETG spool
- Check hardware, plate and material condition.
- Use the manufacturer profile and allowed temperature range.
- Establish temperature, then determine MVS.
- Calibrate Pressure Advance, then Flow Ratio.
- Check retraction as needed; then assess cooling and actual part requirements.
Change one setting at a time.
PETG on fast CoreXY printers: speed is not quality
A printer capable of 300–500 mm/s motion may still be limited by PETG flow, cooling or surface quality. Use MVS to cap the material, then tune outer-wall speed and acceleration for the visual result.
Treat outer walls, infill and top surfaces separately
PETG can sustain high internal flow while visible walls still benefit from lower speed. Keep top surfaces slower when closure and gloss consistency matter, and let infill use more of the calibrated MVS.
Bridging with PETG
PETG stays soft longer than PLA. Stronger bridge cooling, controlled bridge flow and a dedicated bridge speed can improve spans significantly. A profile optimized for maximum layer bonding can still bridge poorly.
Do not judge a material’s general temperature from one bridge test. Bridge settings can deliberately differ from ordinary wall extrusion.
When PETG is not the best material
PETG is a strong all-rounder, but it is not automatically best for high-temperature service, maximum stiffness, ultra-clean support removal or enclosed high-heat parts. PLA, ASA, PC or reinforced materials may fit those requirements better.
Why PETG sticks to the nozzle
PETG has a tendency to curl or collect on the nozzle when the first layer is over-squished, flow is excessive or strings accumulate during travel. Once material sticks to the nozzle, it can be dragged into later layers as dark blobs. A clean nozzle and a correctly calibrated first layer are therefore part of PETG surface quality.
Gloss changes are useful diagnostic information
A PETG wall can change from glossy to matte when speed, temperature or cooling changes. That is not automatically a defect, but abrupt bands can reveal that different feature types are being printed at very different thermal conditions. If appearance matters, inspect the speed/flow preview and try to keep visible outer walls more consistent.
Retraction: avoid solving every PETG problem with more distance
Once filament is dry and temperature is sensible, use the shortest retraction that controls travel ooze. Excessive retraction can increase pressure recovery time and, on some hotends, pull softened material too far into the heatbreak. Direct-drive and Bowden systems require different values, so copy settings only from comparable hardware.
PETG and the enclosure
PETG generally does not need the same hot chamber as ABS or ASA. Large parts may appreciate a stable environment, but an unnecessarily hot enclosure can reduce cooling margin and increase heat-creep risk on some printers. Use the printer and filament manufacturer’s guidance rather than treating “enclosed” as automatically superior.
Dimensional accuracy and PETG
PETG’s strong bed adhesion and slightly softer extrusion behavior can make holes, slots or first-layer dimensions differ from PLA. Calibrate flow and first layer before applying XY compensation. If only the bottom of a part is oversized, diagnose elephant foot rather than globally shrinking the model.
PETG troubleshooting matrix
| Symptom | Likely causes | First check |
|---|---|---|
| Fine strings everywhere | Moisture, temperature, travel/retraction | Dry filament before tuning retract |
| Rough matte wall at high speed | Flow limit or insufficient temperature | Compare required flow with calibrated MVS |
| Blobs on surface | Nozzle buildup, seam behavior, moisture | Inspect nozzle and seam preview |
| Part tears PEI surface | Excessive adhesion | Follow plate-specific release guidance |
| Weak layers | Too cold, too much fan, excessive speed | Reduce flow demand and verify temperature |
Conclusion
PETG becomes predictable when you stop treating each slicer setting in isolation. Dry material, correct flow, realistic MVS and balanced cooling solve more problems than aggressive retraction or random temperature changes.