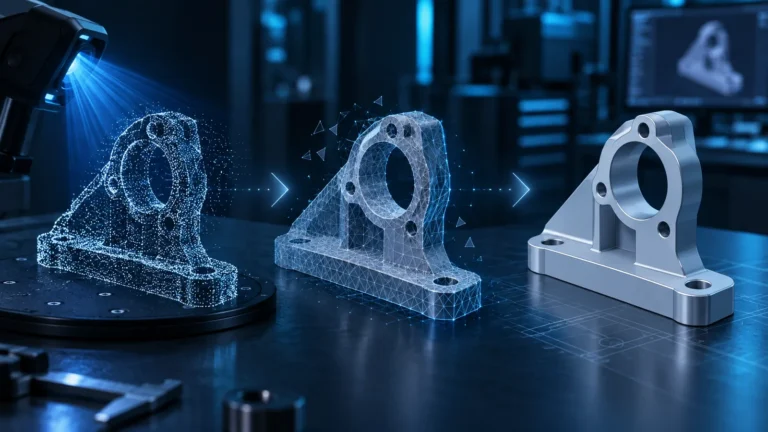
This guide uses an existing scan mesh as a measurement reference in Autodesk Fusion, then rebuilds controlled sketches and features. It starts after mesh preparation. For the general decision between conversion and reconstruction, use the mesh-to-STEP guide.
Before starting: define the result and references
You need a scale-checked STL, OBJ or 3MF mesh, the physical part or reliable reference dimensions, and a list of functional interfaces. Keep the original mesh unchanged. Use a new Fusion design and separate names for the scan reference and CAD component. This distinguishes measured data from constructed geometry.
Decide whether you need a visual shape or a fitting replacement. A replacement prioritizes mounting faces, bore axes and installation dimensions over surface resemblance. Missing functional areas need independent measurements or another scan before reconstruction continues.
1. Import the mesh and verify units
Use Design → Mesh → Create → Insert Mesh, select the file and its Unit Type, then check a known dimension. Centering or moving to ground only positions the mesh; it does not establish a valid functional alignment.
A factor of 10, 100 or 25.4 suggests a units problem. Different errors in different dimensions require checking distortion, alignment and measurement locations; uniform scaling will not solve them. One matching dimension is insufficient for acceptance.
2. Establish functional references
For example, use a mounting face as the Z reference, a long straight edge for X, and a bore axis or symmetry plane as another reference. Align the mesh accordingly. A rough or damaged face is a poor reference: compare several locations and consider the intended original shape.
Avoid unnecessary smoothing of the CAD reference mesh. A smoother-looking mesh may have altered edges or bores. Double contours or large steps in sections call for returning to point-cloud and mesh preparation.
3. Create a section sketch and editable geometry
Use Mesh → Create → Create Mesh Section Sketch, selecting the mesh and an intersecting plane. Place useful sections through a bore center, straight region or shape transition.
Edit the resulting sketch and use Sketch → Create → Fit Curves to Mesh Section. Choose appropriate curve types and segments. The section line is a reference for controllable sketch entities, not automatically a closed extrudable profile.
Prefer a small number of lines, arcs and circles for engineered geometry. Check joins, dimension relevant distances, and impose parallelism, perpendicularity or symmetry only when justified by design. A free spline through every noise detail creates a fragile model.
4. Example: a simple cover with two mounting bores
Illustrative example, not a measured test: A cover has an intended footprint of 80 × 40 mm and two mounting bores 60 mm apart. These figures explain the workflow; they are not tolerance or scanner-accuracy recommendations.
- Check internal clearance and available wall thickness on the original; establish the mounting reference.
- Use a section parallel to the mounting face to identify the outline. Build a dimensioned rectangle for the intended shape instead of copying a wavy scan edge.
- Extrude using independently checked thickness. Do not infer thickness only from a noisy boundary.
- Locate bore centers from functional references and verify the 60 mm spacing independently. Determine diameter from the intended screw connection rather than an unclear scanned rim.
- Add radii and ribs after the base and mounting pattern are correct. Compare the CAD and scan overlay.
If an original bore is worn, do not silently reproduce its damaged outline. Record the intended dimension and why you chose it. Likewise, apparent symmetry does not justify reconstructing unmeasured hidden areas without checking them.
5. Verify dimensions, sections and a partial prototype
Check length, width, thickness, bore spacing and mounting-face position. Additional sections reveal whether the model matches only one plane. Evaluate deviations by function: a decorative exterior and a mounting stop have different requirements.
A visual overlay is not a calibrated accuracy measurement. Defined deviation analysis requires suitable metrology or specialized software. Print only the mounting region or a small fit section first. A successful partial test verifies only the interfaces actually checked.
| Observation | Next action |
|---|---|
| Profile will not extrude | Check open endpoints and duplicate curves; produce a closed contour. |
| CAD matches one section only | Check references, rotation and scan distortion before adding more splines. |
| Bore is oval or incomplete | Measure or rescan; document the intended dimension. |
| Mesh is slow to manipulate | Create a reduced working copy and compare critical edges with the archive mesh. |
6. Save editable CAD and STEP separately
Keep the native Fusion design with sketches and features. Also export the completed CAD body as STEP for exchange. STEP does not automatically retain the complete Fusion timeline. Reopen the export and record reference measurements, selected design dimensions and remaining uncertainties.
Acceptance requires controllable features, checked functional dimensions and verification of the intended use. A STEP filename or closed body alone does not establish these conditions.
Sources and review date
Documentation checked on October 13, 2026. Menu labels and available tools depend on language, version and installation. The example is not a documented product test.
Frequently asked questions
Is the example a hands-on test?
No. It is an illustrative workflow example without measured test results.
When is another scan needed?
When relevant functional surfaces are missing or registration cannot be reliably corrected. Smoothing does not replace measurements.
Does STEP preserve the Fusion timeline?
Not automatically. Save the native design as well.